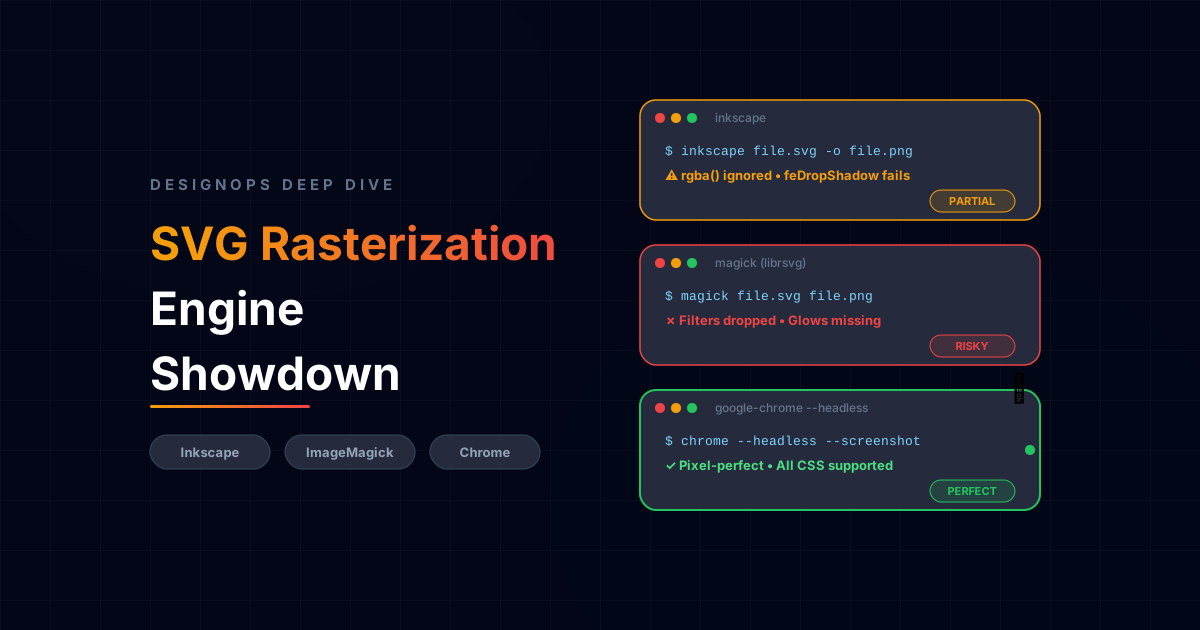

| Engine | Browser CSS | SVG Filters | Emoji | Speed | Best Use |
|---|---|---|---|---|---|
| Headless Chrome | ✅ | ✅ | ✅ | Medium | Browser-accurate rendering |
| Inkscape | ⚠️ SVG 1.1 | ✅ (SVG 1.1) | ❌ | Fast | Standards-compliant SVG |
ImageMagick (librsvg) | ⚠️ SVG 1.1 | ✅ (SVG 1.1) | ❌ | Very Fast | Batch rasterization |
When building out the DesignOps pipeline for this blog (as detailed in my guide on Fixing Broken Hugo Open Graph Previews), my goal was simple: use a Python script to automatically read my vector featured.svg images, inject my branding, and convert them to social-fallback.webp thumbnails for LinkedIn and Twitter.
The pipeline worked flawlessly, until I started using modern SVG features like feGaussianBlur, rgba alpha blending, and complex neon gradients. Suddenly, the automated images didn’t look right. The colors were muddy, and some CSS filters disappeared entirely.
This led me down a rabbit hole of testing three different command-line rendering engines. Here is what I found.
Phase 1: The Browser-Oriented SVG Test#
(Want to follow along? Download the old.svg and new.svg files used in this test to compare the source code yourself.)
To test the engines, I started with a browser-oriented SVG that used modern CSS concepts (like rgba()) and newer shorthand filters (like feDropShadow). It featured dark transparent cards layered over a neon linear gradient, with a heavy feGaussianBlur applied to a background circle.
Test environment: Debian 13 (Trixie) · Inkscape 1.4 · ImageMagick 7.1.1-43 (librsvg 2.60) · Google Chrome 148. Cross-validated on Fedora 44 (Inkscape 1.4.4, ImageMagick 7.1.2-13, librsvg 2.62, Chrome 149) with identical results.
Results may differ slightly with newer rendering engines, but the underlying compatibility differences described here remain relevant.
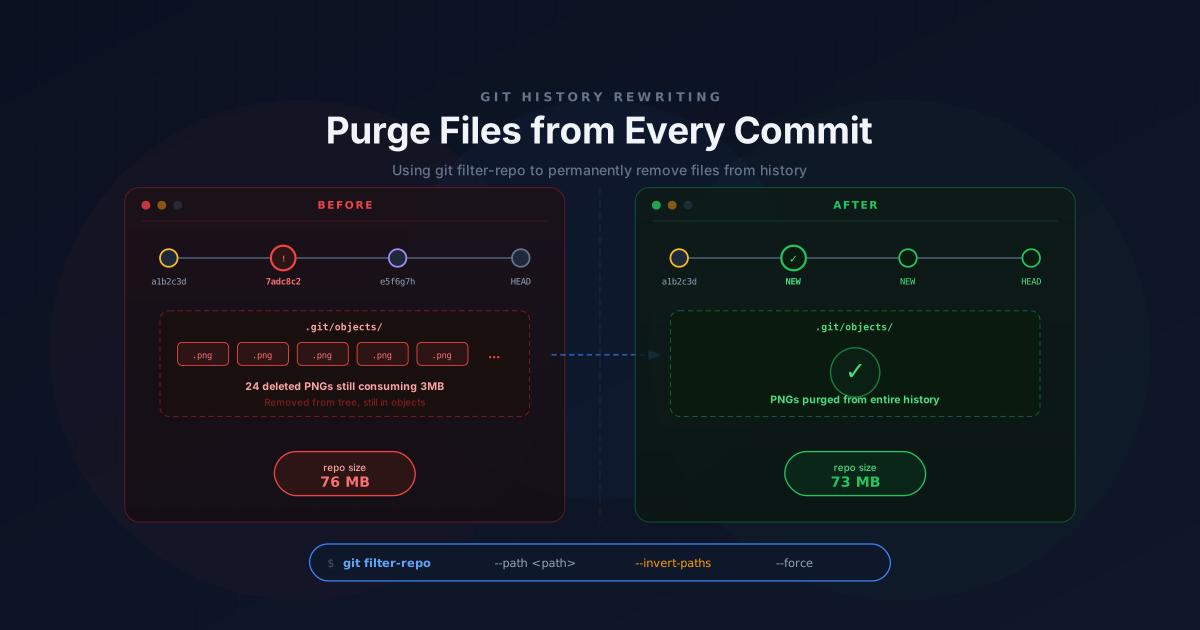
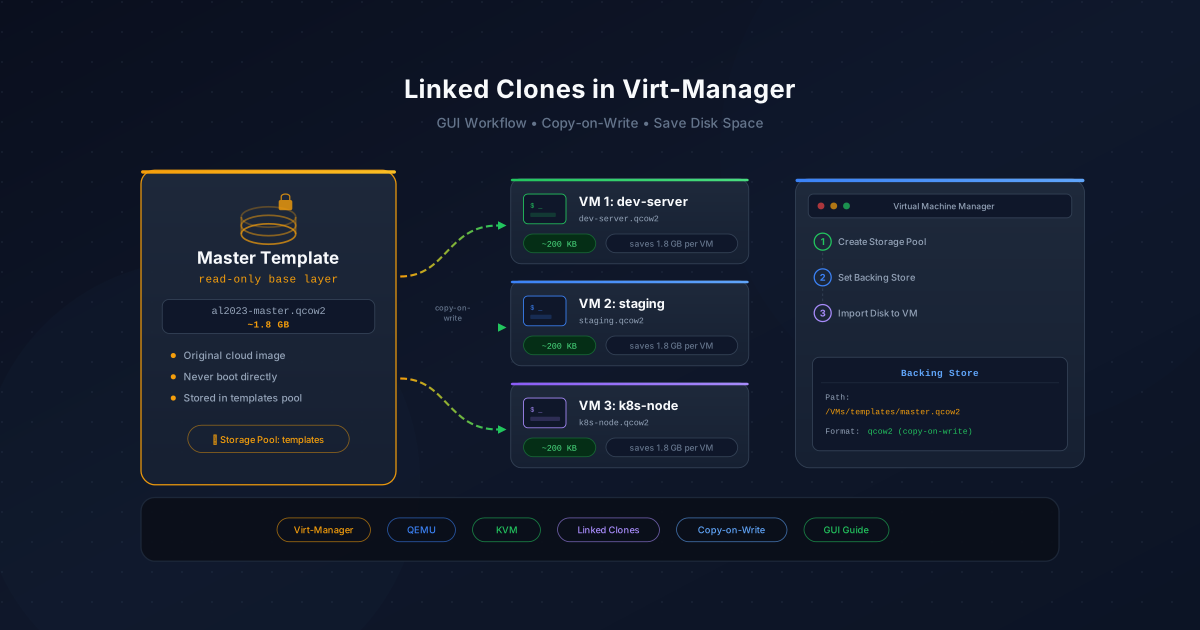
Here is how the three major Linux rasterization tools handled this browser-oriented SVG. All screenshots below were generated from the same source SVG without any manual edits.
1. ImageMagick (librsvg)#
On many Linux distributions, ImageMagick relies on librsvg to render SVG files. The exact renderer depends on how ImageMagick was built, but librsvg is the most common delegate on modern systems.
The Verdict: librsvg failed to render several of the browser-oriented filters, stripping away the glows and drop shadows.
2. Inkscape (Command Line)#
Inkscape is a phenomenal vector graphics editor, but let’s see how its command-line renderer handled the CSS values.
The Verdict: Inkscape ignored the rgba() attribute values, causing those fills to disappear, and failed to process the feDropShadow filter.
3. Headless Google Chrome#
SVGs are fundamentally a web technology. By using Chrome’s built-in headless screenshot feature, we can force a literal web browser to render the SVG exactly as intended. Unlike standalone SVG renderers, Chrome uses the same rendering engine that powers modern web pages (Blink/Skia), so CSS, filters, fonts, gradients, and SVG features behave exactly as they do in the browser.

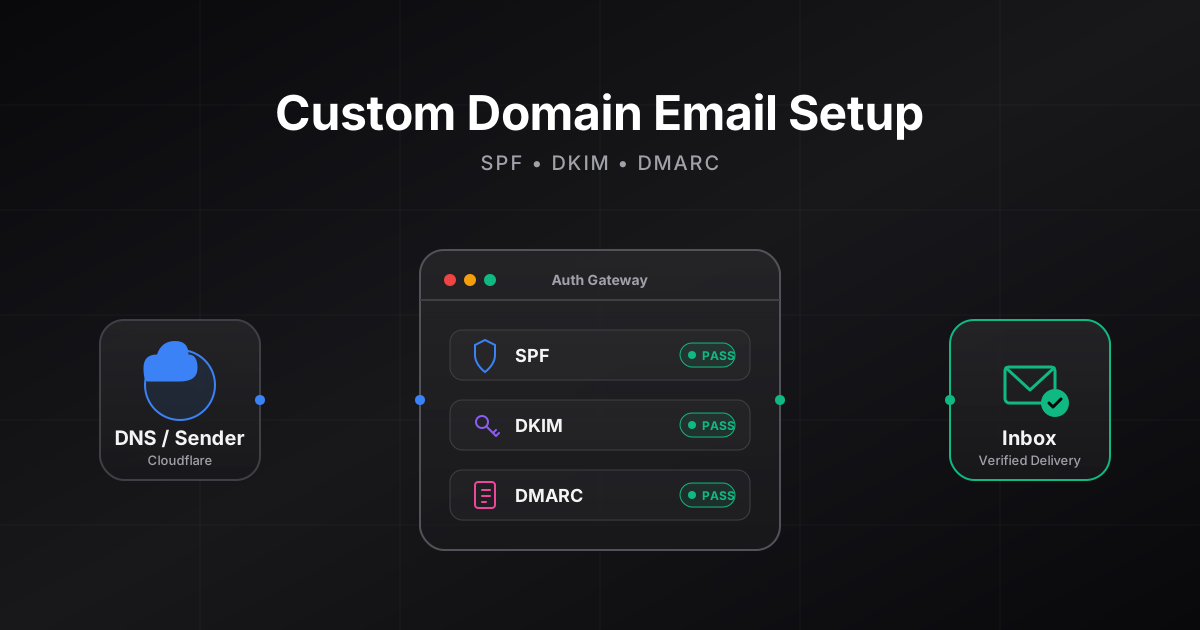
The Verdict: The colors are pixel-perfect, and it handled the web CSS flawlessly.
Gotcha: Chrome Bottom Cutoff#
There is one critical trap with Headless Chrome that cost me hours of debugging. If you wrap your SVG in a simple HTML page like this:
<style>body{margin:0;overflow:hidden}</style>
<body><!-- SVG here --></body>
Chrome treats the SVG as a responsive element. It scales the SVG to fill the viewport width, then calculates the height from the aspect ratio. If the calculated height exceeds --window-size, the bottom of the image gets silently clipped.

You end up with a screenshot that looks correct at first glance but is missing content at the bottom edge.
The fix is a single CSS rule that locks the SVG to exact pixel dimensions:
<style>
  html, body { margin:0; padding:0; overflow:hidden; }
  svg { display:block; width:1200px; height:630px; }
</style>
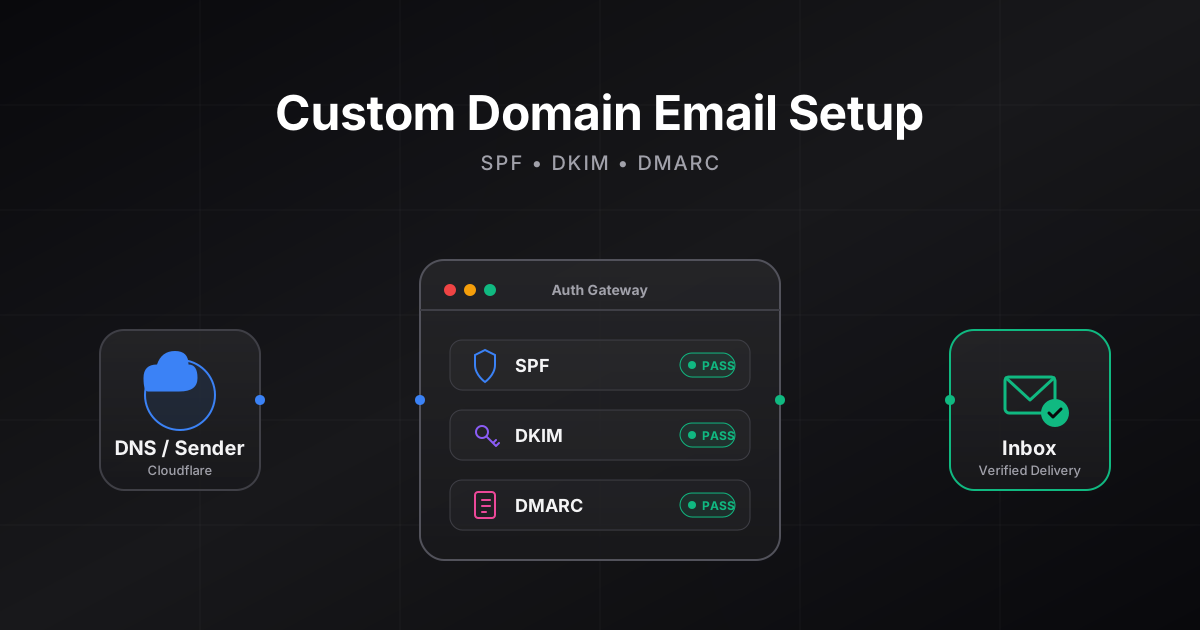
This forces Chrome to render the SVG at exactly 1200×630 pixels, matching the --window-size boundary perfectly. Here is the same SVG rendered again with the CSS fix applied:

No more clipping. The full image is captured edge-to-edge.
v147.x) had a bug where SVG filters (like feDropShadow) confused the headless screenshot engine’s bounding box calculations, causing the bottom of the image to clip despite the CSS fix. Upgrading to Chrome v148 or newer (tested on 148.0.7778.215 and 150.0.7871.181) resolves this layout bug entirely. If you still see clipping, check your browser version!Why Inkscape and ImageMagick Break (Code Analysis)#
After seeing Inkscape and ImageMagick fail so spectacularly on the first test, I traced the rendering failures back to the source code. The issue was not the engines; it was my browser-oriented authoring style. Here is the exact code that broke them, and the strict SVG 1.1 equivalent that fixed it.
Root Cause 1: rgba() CSS Colors#
This is the single most common cause of invisible elements in Inkscape/ImageMagick exports.
<!-- ❌ This works in browsers but breaks in Inkscape/ImageMagick -->
<rect fill="rgba(255,255,255,0.03)" />
<stop stop-color="rgba(39, 39, 42, 0.8)" />

<!-- ✅ SVG-native equivalent that works everywhere -->
<rect fill="#ffffff" fill-opacity="0.03" />
<stop stop-color="#27272a" stop-opacity="0.8" />
rgba() is a CSS color function, not a valid SVG attribute value. Browsers support it because they blend CSS and SVG rendering. Inkscape and librsvg follow the SVG spec more strictly and either ignore these values or render them as fully transparent, making entire cards, rows, and subtle fills disappear.
Root Cause 2: feDropShadow#
<!-- ❌ Shorthand filter. Inkscape 1.4 warns: "unknown type: svg:feDropShadow" -->
<filter id="shadow">
  <feDropShadow dx="0" dy="10" stdDeviation="15" flood-color="#000" flood-opacity="0.6"/>
</filter>

<!-- ✅ SVG 1.1 compatible equivalent -->
<filter id="shadow" x="-10%" y="-10%" width="130%" height="140%">
  <feFlood flood-color="#000000" flood-opacity="0.6" result="flood" />
  <feComposite in="flood" in2="SourceAlpha" operator="in" result="shadow-shape" />
  <feGaussianBlur in="shadow-shape" stdDeviation="15" result="shadow-blur" />
  <feOffset dx="0" dy="10" result="shadow-offset" />
  <feMerge>
    <feMergeNode in="shadow-offset" />
    <feMergeNode in="SourceGraphic" />
  </feMerge>
</filter>
feDropShadow is a newer shorthand filter supported by modern browsers but not consistently implemented by non-browser renderers. When Inkscape encounters an unknown filter type, it silently drops the entire filtered element. If your shadow filter is applied to a card group, the whole card vanishes.
Root Cause 3: Emoji and system-ui Fonts#
<!-- Emoji renders as colored icons in Chrome, empty boxes in Inkscape/Magick -->
<text font-family="monospace" font-size="20">🎨</text>
<text font-family="monospace" font-size="20">✅</text>

<!-- system-ui is a browser-only alias. Inkscape does not recognize it -->
<text font-family="system-ui, -apple-system, sans-serif">Title</text>
Inkscape and ImageMagick have no access to color emoji fonts and don’t understand browser-only font aliases like system-ui. Text positioning may shift due to different font metrics.
Phase 2: The Strict SVG 1.1 Rematch#
Once I refactored the code to use strict SVG 1.1 attributes (no rgba(), verbose filter chains, and vector paths instead of emoji fonts), I ran the exact same file through Inkscape and ImageMagick again.
Here is the result.
ImageMagick (Strict SVG 1.1)#

The Verdict: Flawless. The filters and gradients render perfectly.
Inkscape (Strict SVG 1.1)#

The Verdict: Absolutely perfect. It is visually indistinguishable from the Chrome render.
The Ultimate Automation Script#
You don’t need a heavy Node.js/Puppeteer installation to use Headless Chrome. If you have Google Chrome installed on your Linux server, you can execute it directly from a Python script using subprocess.
Here is the exact Python snippet I use in my DesignOps pipeline to generate pixel-perfect WebP fallbacks from SVGs:
import os
import subprocess

svg_path = "featured.svg"
temp_png = "temp-screenshot.png"
final_webp = "social-fallback.webp"

# 1. Read the SVG content
with open(svg_path, "r") as f:
    svg_content = f.read()

# 2. Wrap it in an HTML page with CRITICAL CSS sizing.
#    Without `svg { width:1200px; height:630px; }`, Chrome treats the SVG
#    as responsive and the bottom gets clipped by the viewport!
temp_html = "temp-social.html"
html_wrapper = f"""<!DOCTYPE html>
<html>
<head>
<style>
  html, body {{ margin:0; padding:0; overflow:hidden; background:transparent; }}
  svg {{ display:block; width:1200px; height:630px; }}
</style>
</head>
<body>
{svg_content}
</body>
</html>"""
with open(temp_html, "w") as f:
    f.write(html_wrapper)

# 3. Use Headless Chrome to take a pixel-perfect screenshot.
#    The absolute file:// URI is required for Chrome to load local files.
abs_html_uri = f"file://{os.path.abspath(temp_html)}"

subprocess.run([
    "google-chrome",
    "--headless",
    f"--screenshot={temp_png}",
    "--window-size=1200,630",
    "--default-background-color=00000000",
    "--disable-gpu",
    "--no-sandbox",
    abs_html_uri
], check=True)

# 4. Strip metadata and convert to lossy WebP (q=90 for optimal size)
subprocess.run(
    ["exiftool", "-all=", "-overwrite_original", temp_png],
    check=True
)
subprocess.run([
    "cwebp",
    "-q", "90",
    temp_png,
    "-o", final_webp
], check=True)

# 5. Cleanup
os.remove(temp_png)
os.remove(temp_html)
Key detail: The CSS rule
svg { display:block; width:1200px; height:630px; }is critical. Without it, Chrome treats the SVG as a responsive element that scales to the viewport width and calculates height from the aspect ratio, which can cause the bottom of your image to be cut off by the--window-sizeboundary.
Performance note: This script starts a new Chrome process for every image. For a handful of Open Graph images that is perfectly fine. For large batches, keeping Chrome alive through the Chrome DevTools Protocol or using Puppeteer/Playwright can reduce startup overhead.
Conclusion#
So, which engine should you use for your DesignOps pipeline?
Option A: Headless Chrome
If you want to design SVGs like web pages (using CSS, rgba(), and emojis), you must use Headless Chrome. It gives you maximum flexibility and guarantees that what you see in the browser is what you get in the exported image.
Option B: Inkscape or ImageMagick If you want the speed and low overhead of Inkscape or ImageMagick, you must author strict, disciplined SVG 1.1 code. No CSS colors, no shorthand filters.
The takeaway: Each renderer targets a different subset of the SVG ecosystem. Pick the engine that matches your authoring style.